

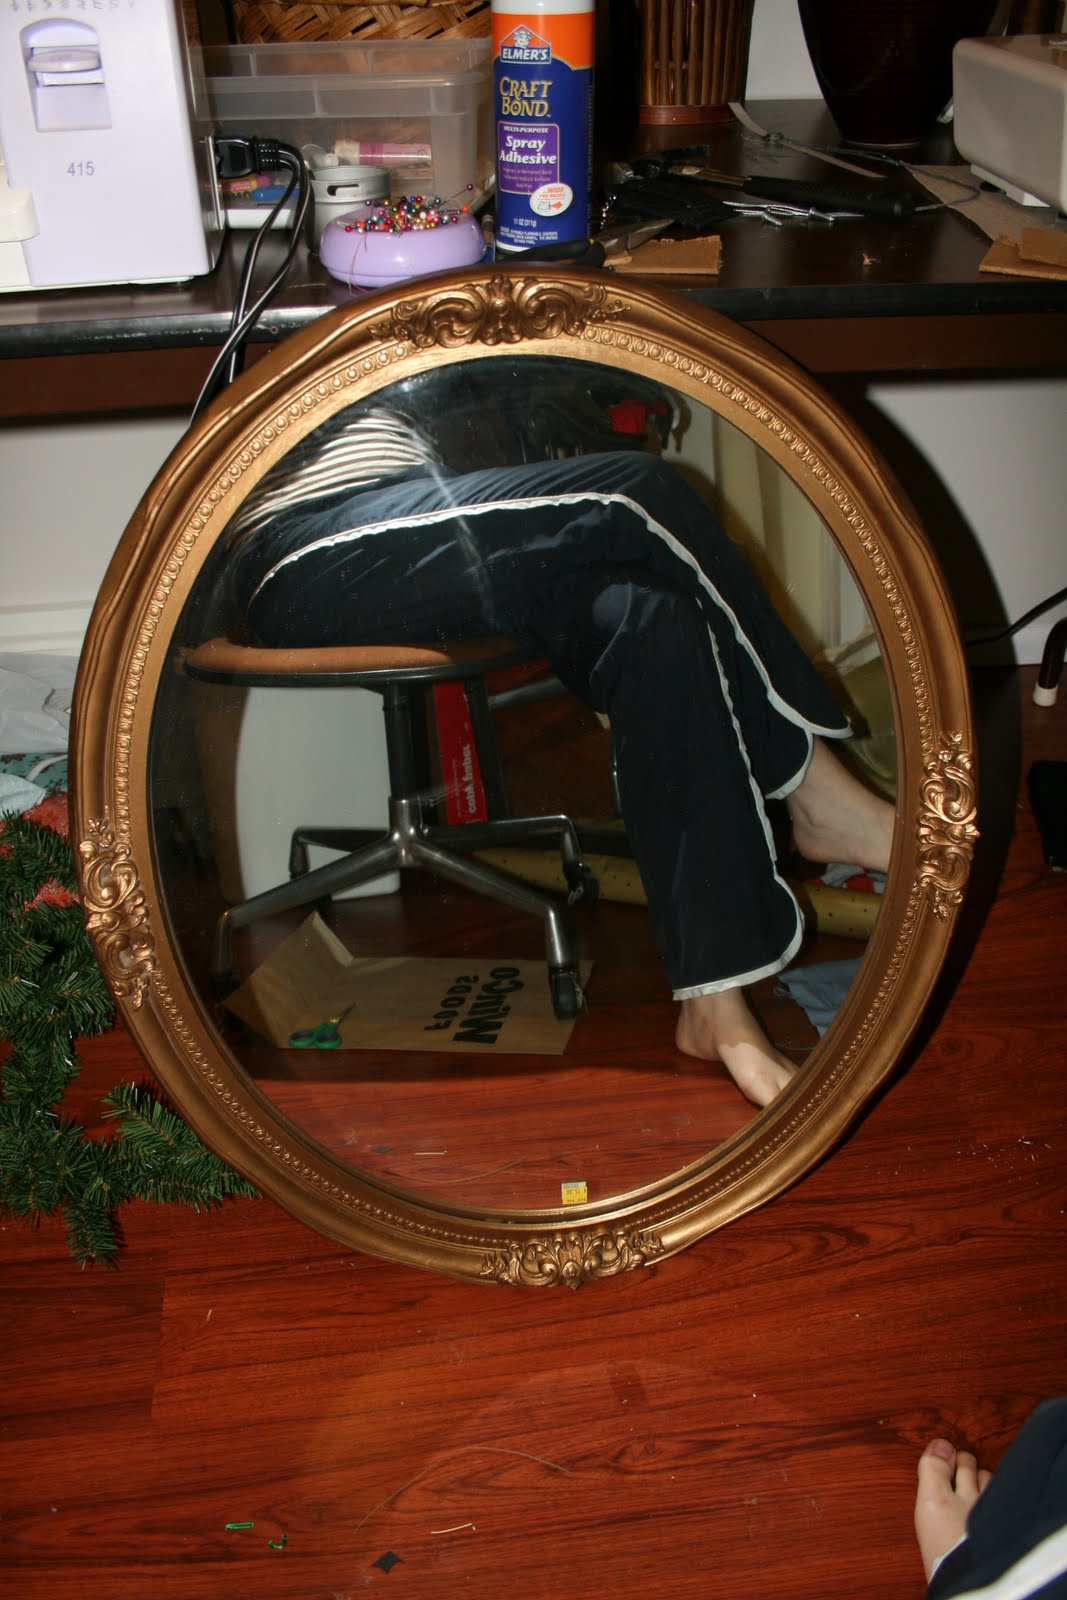
I got the oval one from the DI for $15, and the curvy one from another thrift store for $25.
Well, I'm going to show you how to turn those....into THESE!
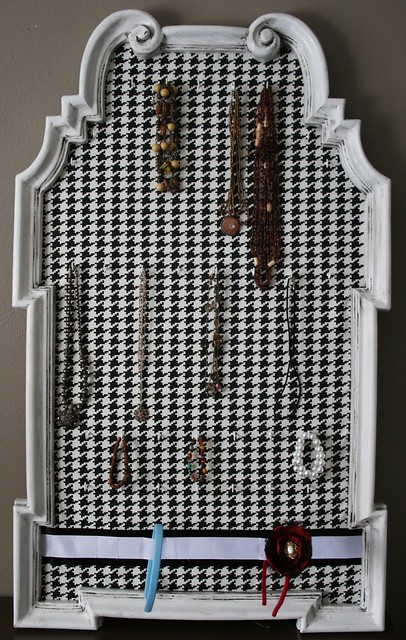
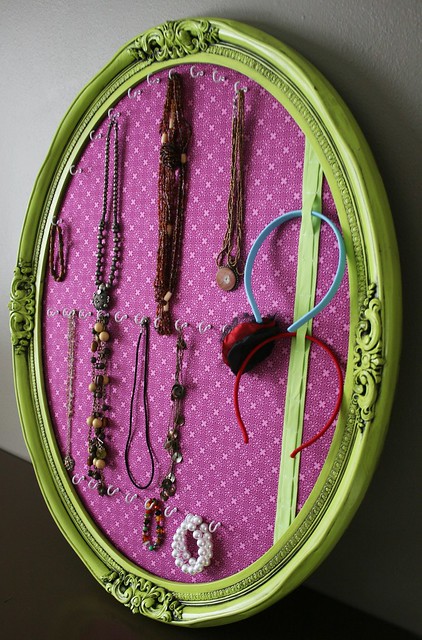
I made these jewelery boards for my two sister-in-laws for Christmas and they loved em! Just a warning....I started out taking pictures of each of them throughout the process...but that got tiring so I figured I could teach you taking pictures of just one! So....they transfer from two to one...but I used the same process on both! And I noticed I didn't take pics of a few of the steps...but I think it's pretty self explanatory.
So here we go:
1. Find a cool frame/mirror.

2. Take off the back and the mirror. I used the prongs of a hammer, and a flat head screw driver, to get staples out and screws out.

 3. Kilz frames. Use Kilz Spray paint- I've found things look more store bought when you spray paint vs. brush paint...just my experience though!

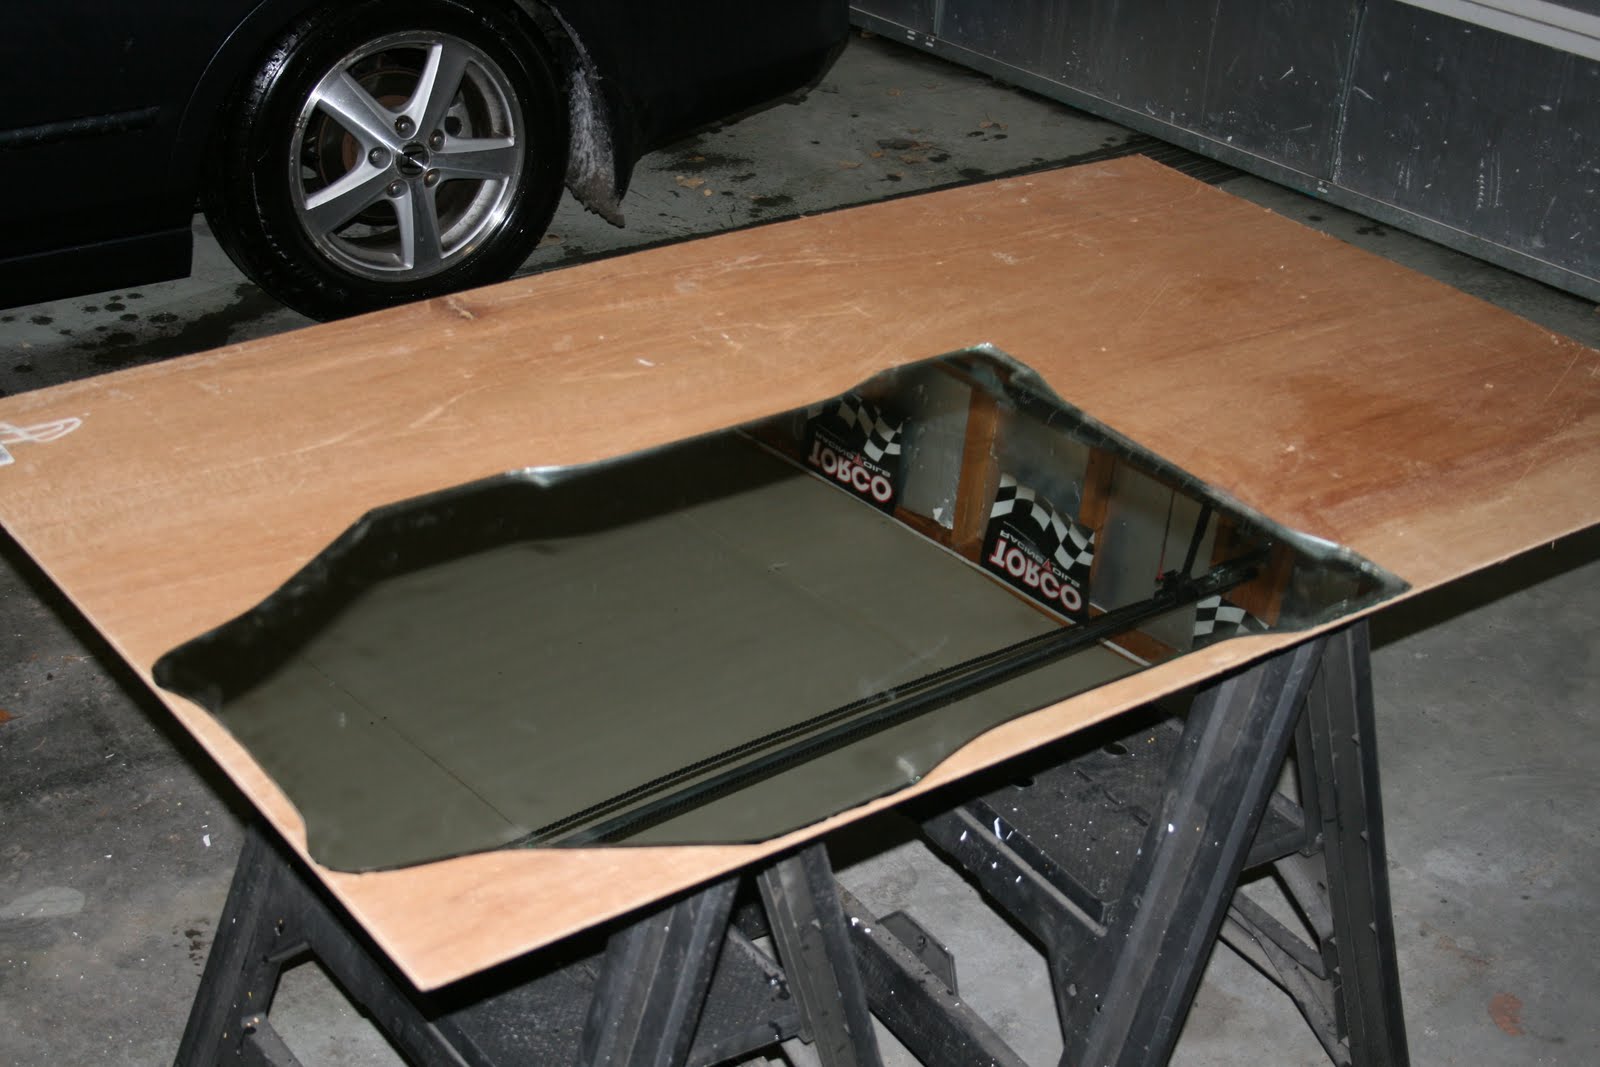
 4. Spray paint frames. For some reason I didn't take a pic...but if you don't know how to spray paint....read the can :) If you want to glaze it, wait till the spray paint is dry. Then I suggest following allthingsthrifty.blogspot.com 's instructions on glazing! It's super duper easy.
5. Get a board. I found this board in my garage! Score. Don't know where it came from, but it worked! Trace around the mirror onto the board.
 6. Get a jigsaw, and saw around the shape! I did this all on my own! I was so proud of myself!!!
 And no, it's not mandatory that you wear a paintballing mask while doing it...I am just protective of my eyes!!! And that was the only protective thing I could find in the garage:)
7. Sand edges a titch so that they don't hurt you during the rest of the process :)
8. Put fabric face down, then put the board ontop of the fabric. Pull fabric as tight as you can and tape it!
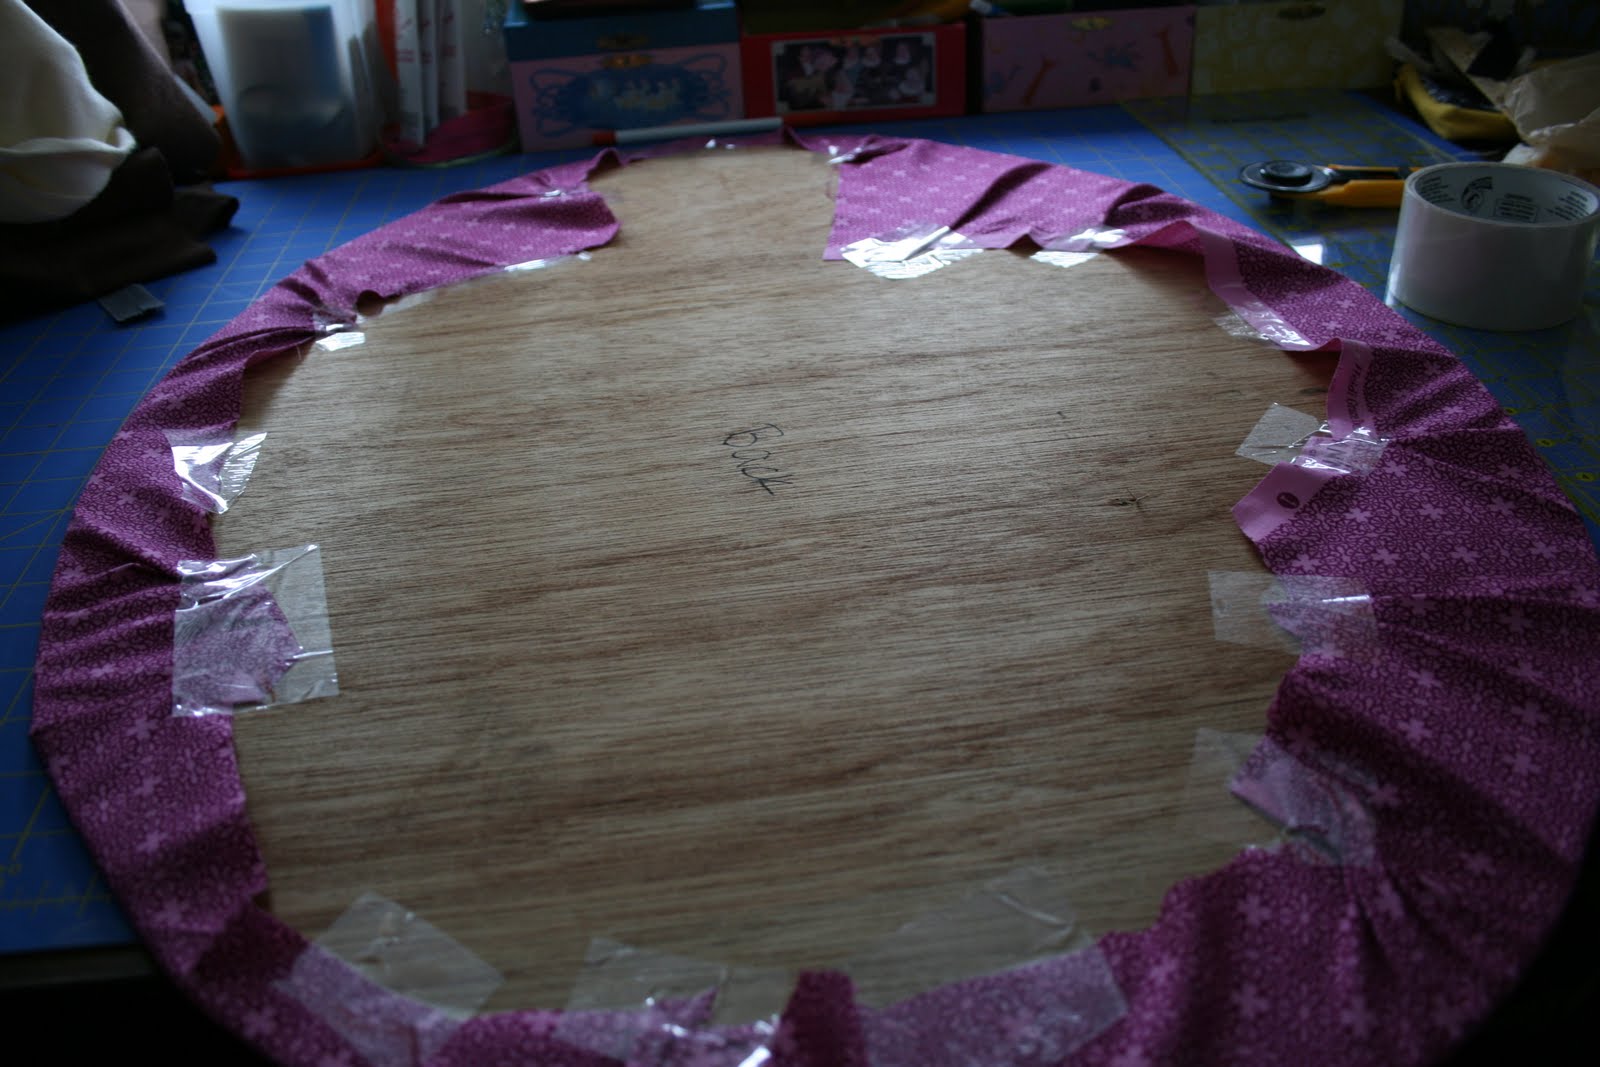 9. Use a hot glue gun to glue the fabric in place. I found that the tape wasn't the strongest of holds...so I took one piece of tape off, then glued (pulling as tight as can be!). I would suggest STILL taping it first, cause it places it in the general spot you want it...it just makes it easier.
 I know this pic doesn't do much for ya...but it's kinda hard to glue gun and take a pic at the same time. But just glue gun within an inch from the edge and you'll get the tightest look. Which you want. Trim excess fabric from back.
11. Place frame ontop of board, and then place hooks where you think you want them...then snip TINY snips with TINY scissors where you want hooks. If you're putting in a headband holder, here is the time to make it.
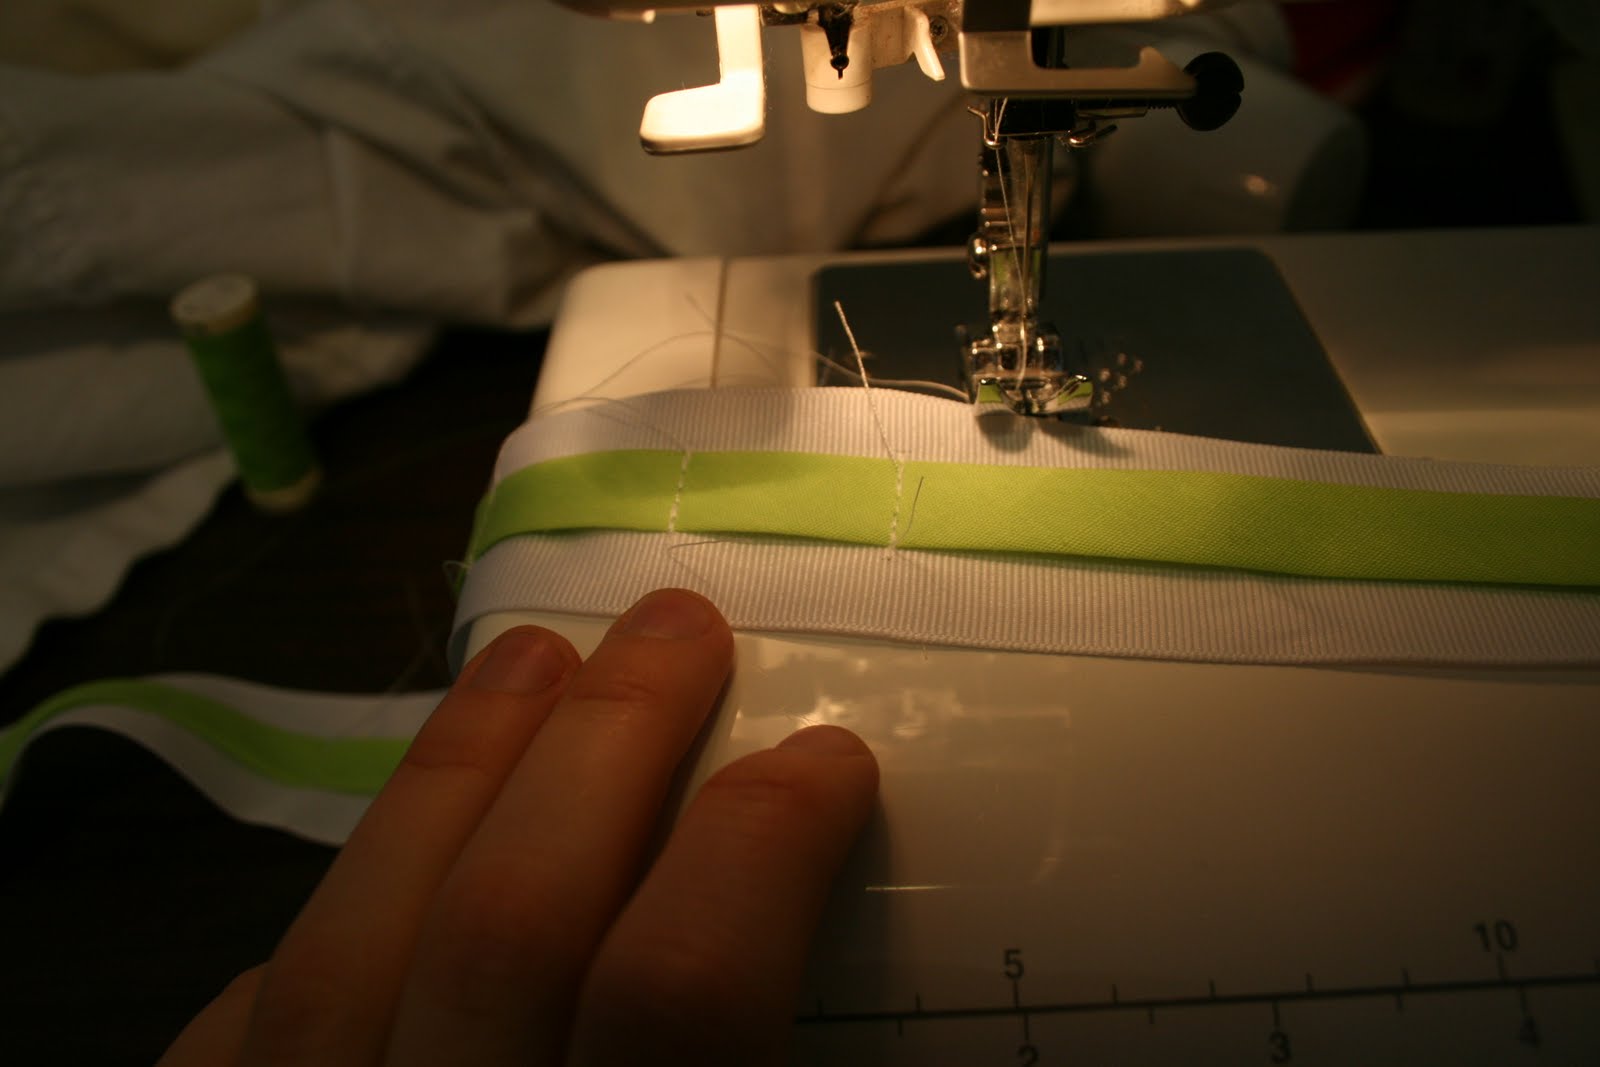 a) Cut ribbon length of frame + 4 inches.
b) Cut another piece of ribbon that is smaller same length
c) Place smaller ribbon ontop of bigger ribbon and sew little slots for headbands. I made mine various sizes. Make sure you backstitch when you begin and end! These slots will see a lot of action so you want them to be able to hold up through time.
d) Glue gun them to the spot you want them! Make sure you leave enough space at the bottom or side for the headbands to sit...you know, so they aren't squooshed against the frame?

12. Screw hooks in and make your fingers really tired! (My right pointer finger still has a callous from this process...and it's been like 2 weeks!) Note- my hooks stuck out a titch in the back...this was really okay! Cause I still had to put the back of the frame on...so they were covered! As long as they don't stick out A TON- you're okay.
13. Put the back of the frame on however it was put on originally. One of the frames I screwed screws in, the other one I staple gunned.
14. LOVE IT!
Seriously- this was soooo fun and so rewarding. The girls loved em and I really need to make one for myself now!

10 comments:
Wow, that is really great. I love reading all of your tutorials even if I could never possibly follow them. I really love these. Maybe I could get Lizzie or my mom to help me make smaller ones for Anna and Gracie. They used to both have one, but even if we do still have one they are at dad's house and we can't have them sent. I do have one. It is amazing how handy these things are. I love the headband ribbon. That is such a great idea. I am sure that they loved them. I sure would if I got one of those. You are so great at making and giving presents. I think it is so cool. I love you! :)
good job!! I love the paint ball picture the best!! love and miss you!!!
That was such an awesome tutorial! You explained everythign so well, and it made me want to go make one! It made me feel like I could do it. I LOVE the headband deal- I need that for mine. Awesome! I still haven't read your pillow one yet- I'm just waiting until I want to make it. loev you!
Wow. Great tutorial. You have a jigsaw?? So cool. And I'm loving the paintball mask. = )
so cool! i'm going to try this. thanks for the tutorial!
I love this! My sister would totally die for one of these. okay, not really die... but she would love me forever if I made her one! Thanx for sharing!
Hi! Found your blog through Sage and Cocoa and I love this idea!
I was just thinking I need somewhere to put my necklaces. I am featuring this (as well as Sage and Cocoa's version) on my blog tomorrow:
http://icandyhandmade.blogspot.com
I was just saw these on Charming Ink's blog. I love these. I made my jewelry organizer with picture frames and wine corks!
Thanks for posting
Tumaini
http://www.flippinfactory.wordpress.com
I love it! What a great idea. I may have to try this Idea for some Christmas Presents!
This is such an awesome DIY project!
Post a Comment